
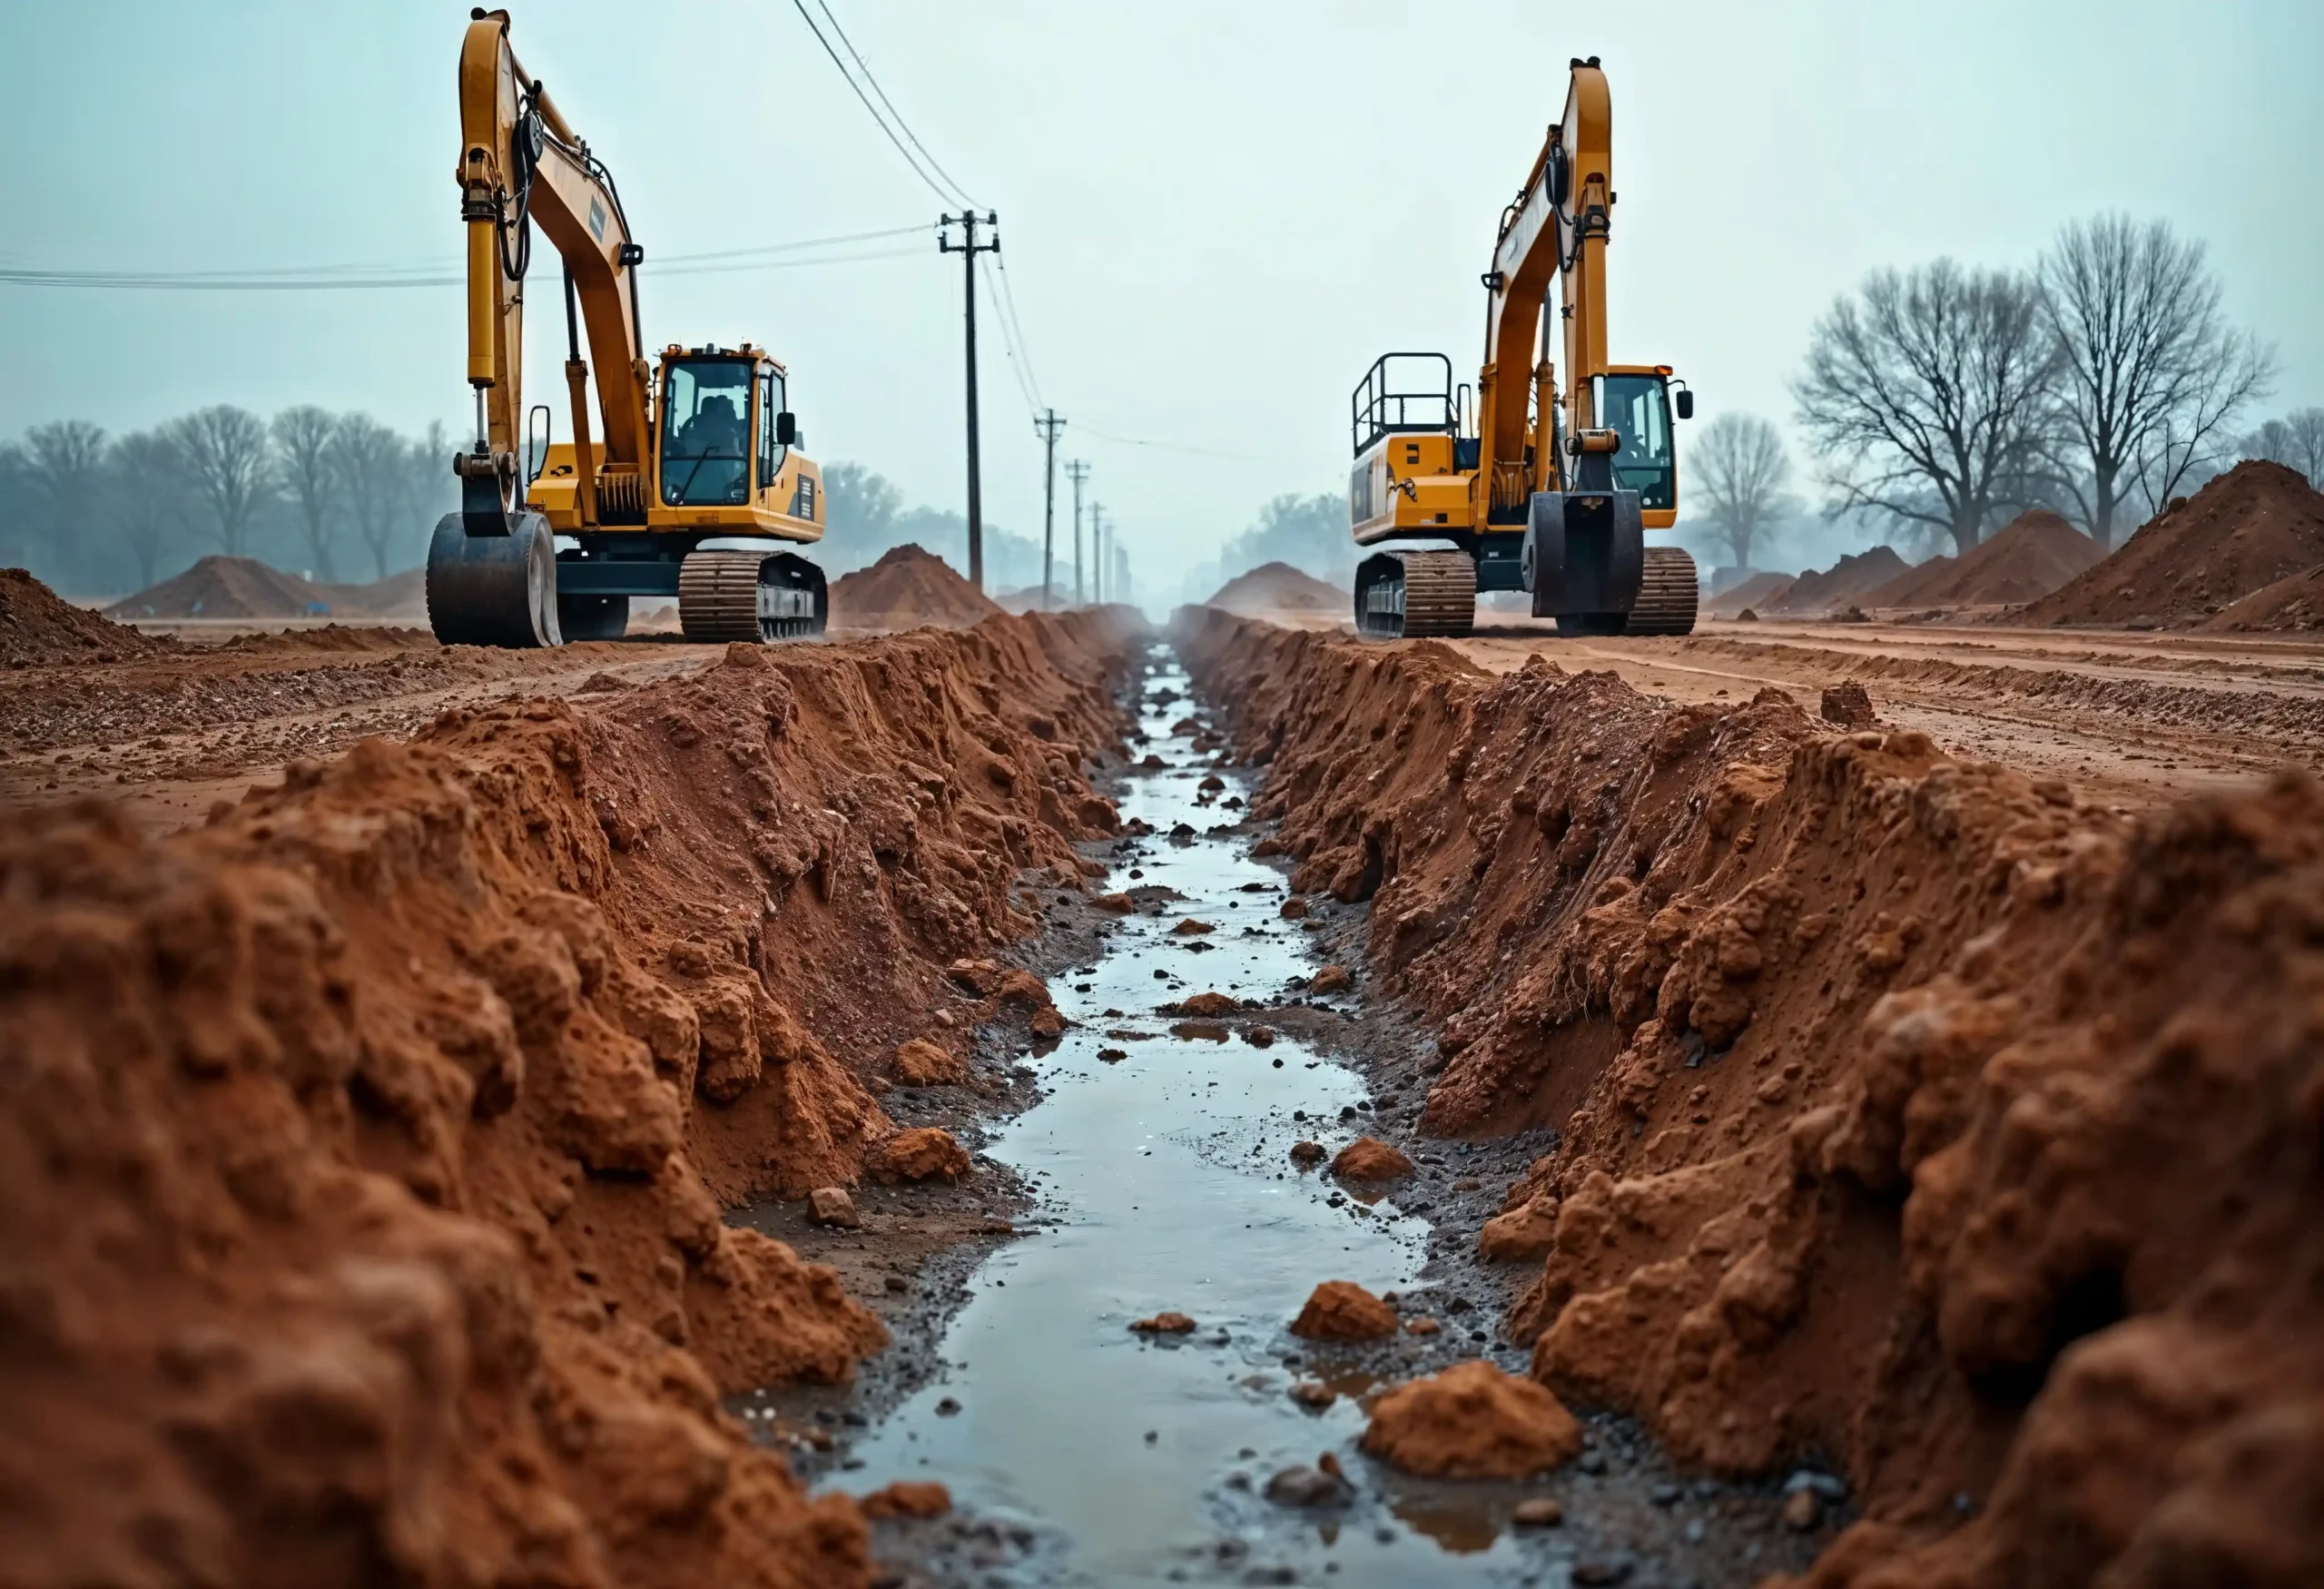
Melbourne’s weather can surprise you – one moment it’s sunny, the next you’re scrambling to avoid a flooded yard. As someone who’s battled boggy lawns and cracked driveways, I’ve learned that proper drainage installation is your home’s raincoat. In this guide, I’ll walk you through planning and installing a drainage system that keeps water where it belongs: away from your foundations. By learning from local conditions (hello, clay soil!) and following best practices, you can turn frustrating puddles into a problem of the past. Let’s dive in and give your water a proper exit route!
Understanding the Drainage Challenge in Melbourne
Melbourne’s mix of clay soils and heavy rains means water doesn’t disappear fast. Clay-rich ground can hold rainwater like a sponge, and gentle suburban plots often lack natural fall. The result? Water lingers near your house and fences. To control this, we need to shape the land and install drains that mimic nature’s drainage. In practice, that means ensuring consistent slope (even a 1% grade) away from structures, and planning where stormwater ends up.
The Australian Rainfall and Runoff standards guide engineers on sizing pipes for local storms, but on your property a smart layout is just as important. Think of it like giving water a highway out of your yard, not leaving it to wander aimlessly. In short, site drainage planning involves checking your soil, the existing slope, and spotting nearby low points where water might collect.
Here Different Types of Drainage Systems
Choosing the right drainage solution depends on where water collects and how it moves across your property. Not every property needs the same setup, and installing the wrong system can create more problems than it solves.
A good drainage design combines different methods to achieve effective water runoff control. Some properties require surface drainage, while others need deeper subsurface drainage to manage underground moisture.
Surface Drainage for Managing Rainwater Quickly
Surface drainage is designed to remove visible water from areas such as driveways, patios, lawns, and outdoor entertainment spaces. These systems work by collecting water from the surface and directing it towards a suitable outlet.
Channel drains and grated drains are common examples of surface drainage solutions. They are especially useful in areas where rainwater collects quickly, such as paved surfaces or low points around buildings.
For Melbourne homes with landscaped gardens or outdoor areas, surface drainage helps maintain a cleaner and safer environment. It reduces muddy patches, prevents water pooling, and protects outdoor surfaces from long-term moisture damage.
Subsurface Drainage for Hidden Water Problems
While surface water is easy to notice, underground moisture can often be the bigger challenge. Subsurface drainage systems are designed to remove excess water beneath the ground.
French drains are a popular option because they allow water to move through gravel and perforated pipes before being redirected away from problem areas. They are commonly used near retaining walls, gardens, and foundations.
Foundation drainage is particularly important for protecting buildings. Excess moisture around foundations can contribute to structural issues over time, making early planning essential.
Key Factors to Consider Before Drainage Installation in Melbourne
A successful drainage installation starts before any excavation work begins. Planning helps identify potential issues and ensures the final drainage system performs effectively.
Many drainage problems happen because installation focuses only on where water is visible rather than understanding the full cause. Professional site preparation allows experts to assess the property properly and create a long-term solution.
Before starting drainage work, consider:
| Factor | Why It Matters |
| Property slope | Determines natural water flow and drainage direction |
| Soil type | Affects water absorption and drainage performance |
| Existing pipes | Helps avoid damage during excavation |
| Rainfall patterns | Ensures the system handles Melbourne weather conditions |
| Future landscaping | Prevents conflicts with gardens, paving, or structures |
Drainage planning is especially important for new builds, renovations, and landscaping projects. Installing drainage before construction finishes is often easier and more cost-effective than fixing problems afterwards.
At CMK Excavations and Hire, proper assessment is a key part of every project. Good drainage is not just about removing water; it is about controlling water movement efficiently.
Surface vs. Subsurface Drainage Solutions
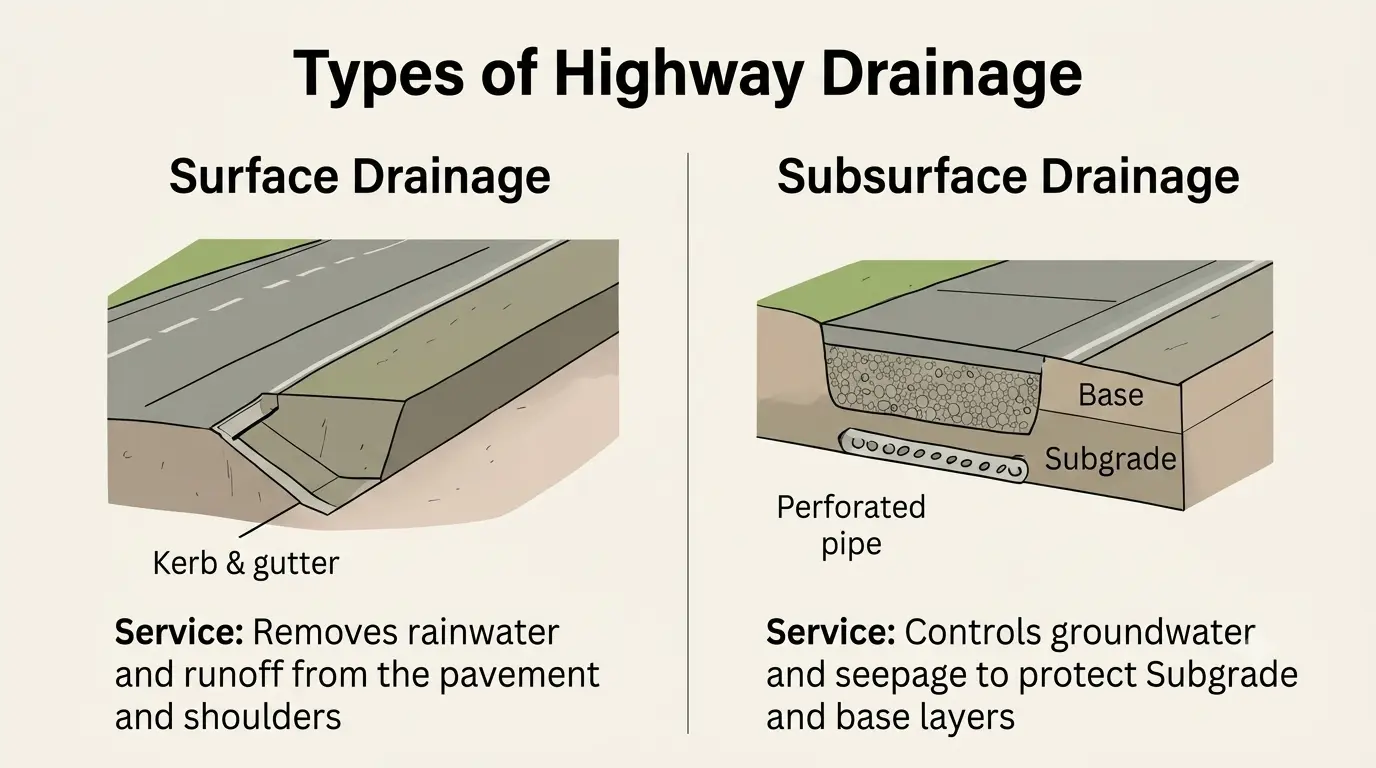
Melbourne streets use grates and pits to capture run‑off – a clue that surface drainage is just one part of the picture. On your property you’ll likely use a mix of solutions:
- Surface Drains: These include street‑style grates, channel drains along driveways, or shallow swales. They catch rainwater right on the surface (think puddles on a patio) and funnel it into your underground pipes or directly to the street. Regular cleaning is vital – blocked grates lead to nasty backyard puddles.
- Trench (French) Drains: A gravel-filled trench with a perforated pipe at the bottom. It collects water along its length (often near walls or fence lines) and carries it away. French drains relieve pressure under foundations by guiding subsurface drainage outward. Properly built, they protect your footing without you noticing they’re even there.
- Soakwells and Sumps: In tight spots or where digging deep pipes isn’t possible, a lined pit or sump can capture run‑off. These are essentially temporary reservoirs that let water soak into the ground slowly. They’re handy as yard drainage solutions when direct discharge isn’t allowed.
- Roof and Downpipe Integration: Make sure all roof runoff connects to your system, not just dripping onto the ground. Downpipes can tie into pipes or outlets that lead to legal discharge points. Check local rules: you might need to link into council storm drains instead of dumping onto a neighbour’s block.
Choosing the right mix depends on your block size and layout. A steep backyard might use graded swales, whereas a flat lawn begs for subsurface French drains. These options – surface vs. subsurface – work best in combination. Outdoor drainage solutions often blend them: for example, a channel drain leading into an underground pipe system.
Planning Your Drainage Installation
Good planning is half the battle. Start by mapping your property’s high and low points – you want water to flow downhill and out. Always check with your local council or Water Authority about any requirements. (Melbourne Water, for instance, sets rules on how and where you can discharge stormwater.) If you’re on clay or reactive soil, plan for extra measures: the plumbing code explicitly says drains in unstable ground need special bedding and support.
Decide on the outlet first (street grate, neighbour’s gully, soak pit) and route the system from every wet spot to that point, ensuring continuous fall. Sketch a simple drainage layout on paper – even a rough drawing helps avoid “oops” moments later. Remember: water runoff control is about giving water a path out, not trapping it.
Preparing the Site and Excavation Services
Once the plan is set, prepare your site. Mark out where trenches will go and locate any buried services (gas, power, comms) before digging. In dense Melbourne suburbs, excavation often happens in tight spaces (between a fence and house, for instance). That’s when mini‑excavators and careful hand work shine.
Think about spoil placement too: digging up a lot of clay is heavy work, so stack soil where it won’t block access or turf. This is where professional excavation services earn their keep. Experienced dig crews will read the soil – clay, sand or old fill – and adjust their method. (In watery holes, they may even pump out water or brace trench walls for safety.)
Proper site preparation means you end up with a trench that’s the right depth and width without collapsing. Aim for enough clearance for the pipe plus bedding, but not so much that you waste time and money hauling soil. If you’re renting a machine or hiring pros, discuss trench drainage specifics: the bucket width, length of trench, and any obstacles like roots or rocks.
Steps for Drainage Installation
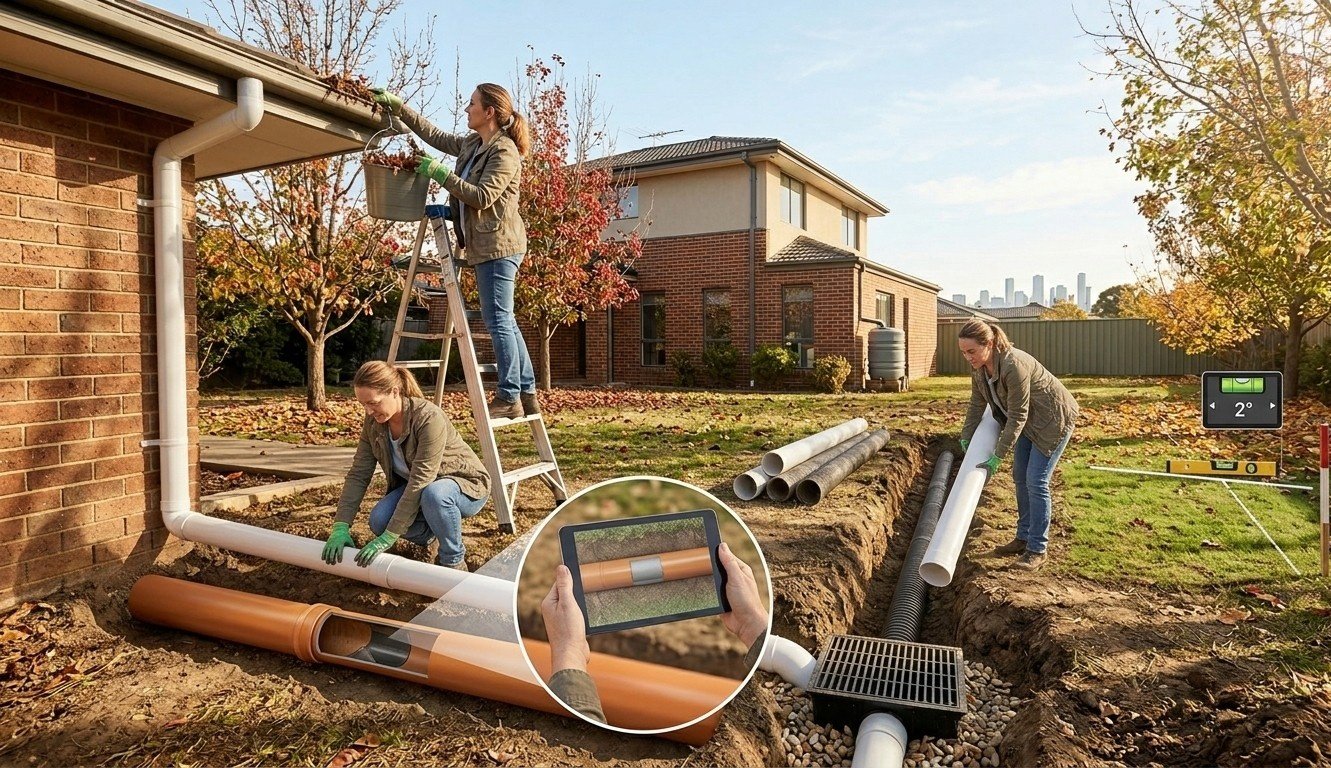
Before you lay pipe, ensure the trench leads to a lawful outlet, as shown here. Then follow these core steps for a rock‑solid install:
- Set a consistent fall. Use a level or laser to make sure the trench slopes toward your discharge point. Water only cares about gravity – even small errors mean pooling. A common rule is at least 1–2% grade (1–2cm drop per meter).
- Add bedding. Place a few centimeters of coarse sand or drainage gravel in the trench base. This levels the pipe and cushions it from point loads.
- Lay the perforated pipe. Use pipes rated for drainage (often slotted PVC or corrugated HDPE). For foundation drains, sizes start at 100–150mm. Ensure joints are watertight or properly wrapped (depending on design) so you don’t lose or redirect flow.
- Wrap and cover. Surround the pipe with washed gravel or drain rock; then cover with geotextile fabric if needed to keep soil out. The fabric prevents silt from clogging the gravel around your trench.
- Backfill carefully. Return the trench soil in layers, compacting each as you go. Wet clay in the trench can cause sinking if not compacted. Sometimes, you’ll mix backfill with sand or road base for stability under a driveway.
- Install end details. Fit grates, pop‑up emitters or drainage pits at the low end. Make sure outlets let water disperse away from any structure. If you pipe into the street stormwater line, use an approved pit or connect to the council’s gully.
Remember Clause 5.6: if you’re on filled or waterlogged ground, you might need concrete surrounds or special stoppers around pipes. That’s why many pros do complex digs – they know how to build a drainage infrastructure that won’t move with shifting soil.
Choosing the Right Materials and Components
Your drainage systems rely on solid parts. Perforated pipes come in varying diameters and materials: PVC (smooth, durable) or corrugated poly (flexible, cheaper). For high loads (like under driveways), use rigid pipe. Grates and channels should be durable plastic or metal – cast‑iron grates on the street don’t rust for nothing! Drainage fabric (geotextile) and rock (often 20mm size) keep soil from clogging your system. If needed, include debris traps or gullies at downpipes. For foundation drainage around slabs, use 90-degree elbows and fittings made for buried installation.
In commercial drainage projects the piping can be much larger, but the same principles apply. Think of it this way: the whole system – from site drainage channels to the final outlet – must be sized and built so one part never backs up another. Good drainage planning means accounting for pipe size, gravel depth, and even tree roots that can invade old drains.
Melbourne-Specific Considerations
Melbourne’s mix of weather and soil demands local know-how. For example, many suburbs sit on reactive clay that swells with water. That’s why a “foundation drainage” layer (around footings) is often needed – to intercept ground water before it pushes on your slab. As noted by local building authorities, drains in unstable or water‑charged soils require engineered bedding. Also, our Winters can be long – the ground can stay saturated for weeks, so your drainage must handle not just the first flush, but ongoing flow.
Gardens with heavy mulches or lawns can be pressed down, so often pipes should be a little deeper than just below turf level, maybe 200–300mm down, to stay hidden yet effective. Additionally, if your property borders bushland or is sloped, you might need land drainage (diverting entire catchments). In short, adapt your design to fit Melbourne conditions: account for that Bay wet weather, clay shrink‑swell, and the fact that summer storms now come in bucket-loads (see updated EPA stormwater guidance).
Maintenance and Repairs
Even after a perfect install, trees and debris can fill your drains. Regular maintenance keeps water flowing: clean gutters and grates after storms, flush out sediment from pits, and inspect pipes for cracks. Melbourne’s heavy autumn leaves and pines can choke a pipe quickly. Drainage repairs often involve jet‑rodding blocked lines or refilling settled trenches. Remember the Melbourne Water advice: “Keep gutters and drains clear of debris to avoid blockages,” which helps prevent floods.
If you notice pooling or damp patches reappearing, tackle it early: unclog or replace damaged draincovers, or even dig out a short section to re-lay pipe with fresh bedding. Young trees planted too close can eventually crack pipes, so include root barriers or PVC sleeves for easy pipe inspection.
A bit of drainage maintenance – like treating gutters with leaf guards – saves a lot of money and hassle on repairs later. It’s just like cleaning your bathroom drains; a quick check now prevents a flood later.
Working with Professional Drainage Contractors
At the end of the day, some drainage jobs call for expert help. A skilled crew (like our team at CMK Excavations and Hire) has the right machines and knowhow. Pros will do a thorough site assessment and get the slopes just right. We also handle permits or council notices if required. Using licensed drainage contractors is especially smart for complex projects (e.g. multi-house developments or deep foundation drains) or when heavy equipment is needed. Plus, quality contractors back up their work.
We’ve seen DIY fixes flood after one storm – you don’t want that headache. Hiring professionals means you get precise trenching, correct materials, and compliance with AS/NZS drainage standards, all wrapped in a neat warrantee. In a nutshell, think of experts like personal trainers for your property’s water: they set you up strong and keep an eye on form so you can relax.
Conclusion
Melbourne’s combination of unpredictable rain and stubborn clay soil makes drainage installation a must for any Aussie property. We’ve covered the essentials: start with smart planning (know your slope, soil, and outlet), pick the right system (surface drains vs. French drains as needed), use proper materials (well-sized pipes, gravel and fabric), and install with care (steady fall, solid bedding). Remember, even the best system needs upkeep: clear those grates, flush out debris, and inspect after big storms. Follow these tips, and you’ll transform a wet, worrisome yard into a dry, peaceful space.
In summary, effective drainage installation is about foresight and detail. It’s shaping the land and pipes so water naturally leaves your property. It prevents foundation cracks, soggy floors, and costly repairs. A well-designed system channels rainwater away safely, protecting your home year-round.
Ready to ditch the puddles once and for all? Get in touch with us at CMK Excavations and Hire. We’ve helped Melbourne homeowners implement top-notch drainage systems, from trench drains and soak wells to full stormwater connections. Contact us today for expert advice or to arrange a consultation – let’s keep your property high and dry together!
Frequently Asked Questions About Drainage Installation
Q: How do I know if I need a drainage installation expert?
If water pools in your yard, the ground stays soggy, or you notice cracks after heavy rain, it may indicate a drainage problem. A professional can identify the cause and recommend the right drainage solution.
Q: What drainage solutions work best in Melbourne?
Common drainage solutions include French drains, channel drains, grated pits, and stormwater systems. The best option depends on your property’s layout, soil conditions, and water flow requirements.
Q: Do I need council approval for drainage installation?
Approval requirements depend on the project scope. Drainage connected to public stormwater systems or affecting neighbouring properties may require additional approval. A professional contractor can help guide you through local requirements.
Q: How often should drainage systems be maintained?
Drainage systems should be inspected regularly, with many homeowners checking them at least twice a year. Maintenance after heavy storms can also help identify issues early.
Q: How deep should drainage trenches be?
Drainage trench depth depends on the pipe size, site conditions, and required water flow. A drainage professional will ensure trenches are installed correctly for reliable performance.
